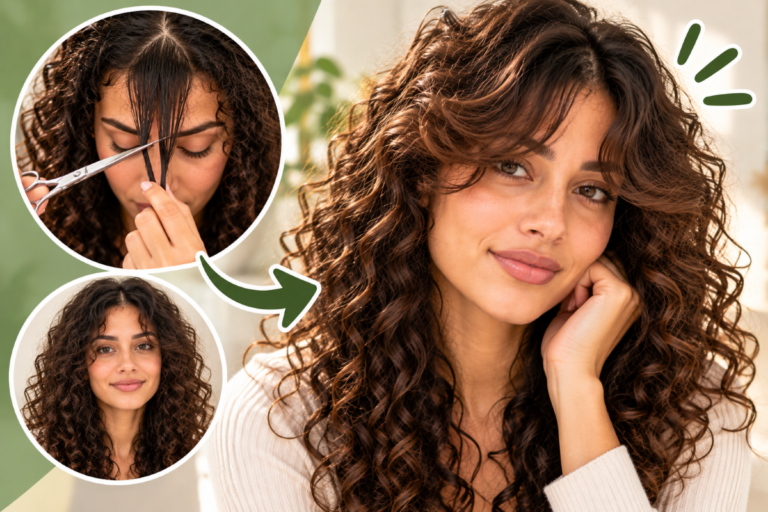
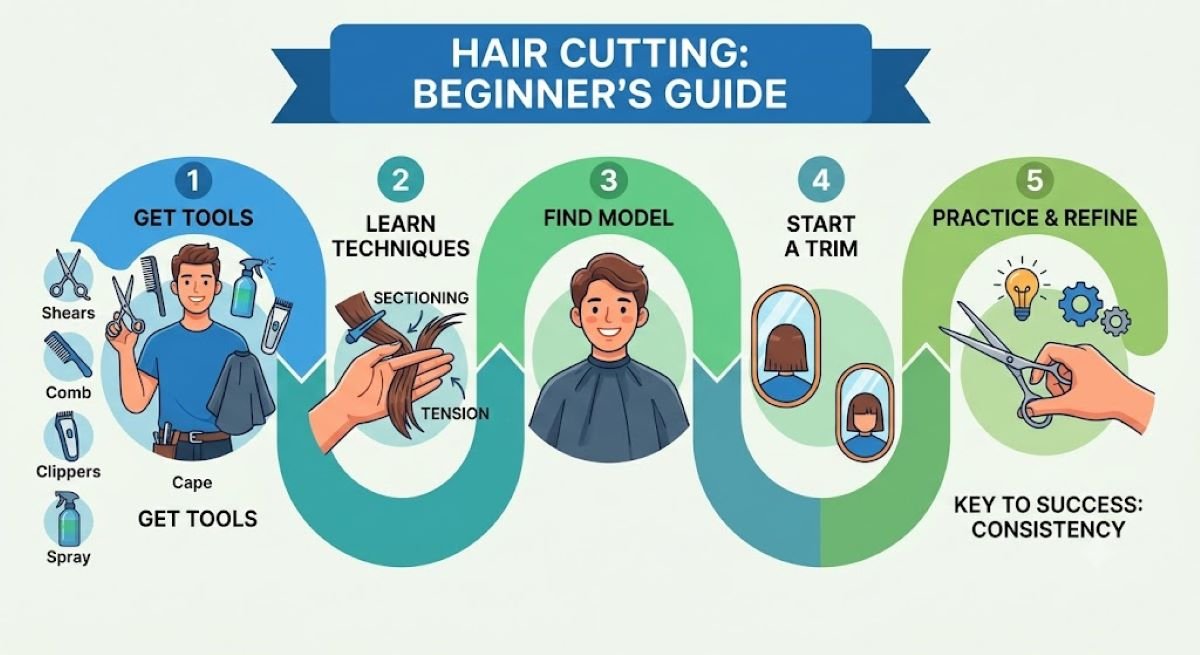
So you want to learn how to cut hair. Maybe you’re tired of paying $80 for a trim, maybe your sister keeps asking you to “just even it out,” or maybe you’re eyeing a career behind the chair. Whatever brought you here, here’s the short answer: the fastest way to learn how to start cutting hair for beginners is to master three things first — sectioning, tension, and one basic technique (blunt cutting) — before you touch anything fancier. Everything else builds on that foundation.
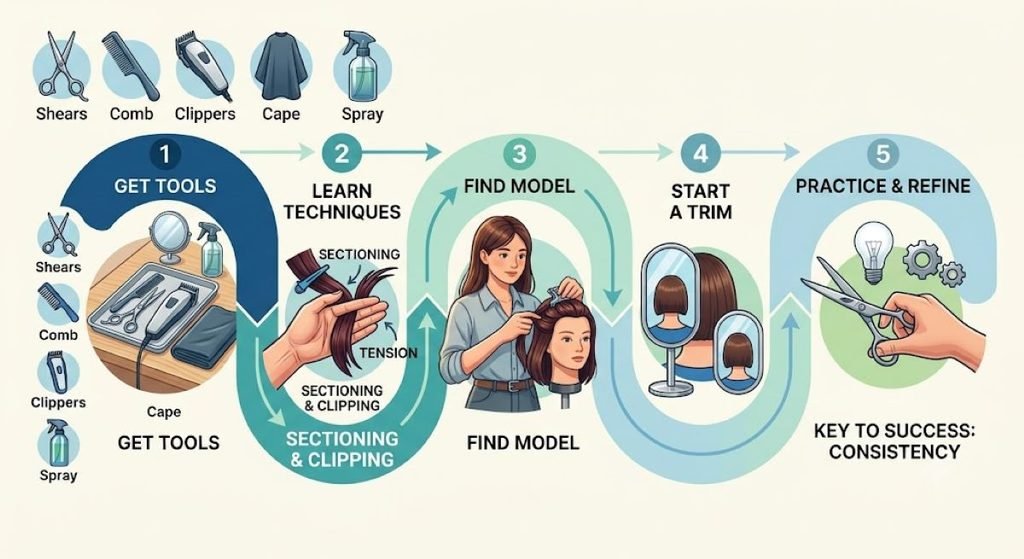
Honestly, most beginners rush straight to YouTube tutorials of fancy layered cuts and get overwhelmed within five minutes. That’s not how anyone actually learns this. You start slow, you start with the right tools, and you start on hair that can forgive your mistakes (a mannequin head, not your best friend’s hair — trust me on this one).
Why Learning to Cut Hair the Right Way Actually Matters
Cutting hair looks deceptively simple. Two blades, some hair, done — right? Not quite. Hair has weight, direction, and elasticity, and every one of those things changes how a cut falls once it’s dry. A beginner who skips the fundamentals usually ends up with uneven layers or a line that looks straight wet and crooked dry.
Here’s the thing: professional hairstylists train for months before they touch a client. You don’t need that level of commitment if you’re just doing your own hair or a few friends’ hair, but you do need patience. Give yourself permission to be bad at this for a while.
- You’ll build hand-eye coordination for sectioning and tension
- You’ll learn how wet hair behaves differently than dry hair
- You’ll start recognizing your own hair type’s quirks (curl pattern, density, growth pattern)
also read- How to Fix Hair Damaged by Heat: A Stronger Hair
Bleach Damaged Your Hair? 10 Simple Ways to Fix Dryness, Breakage & Frizz
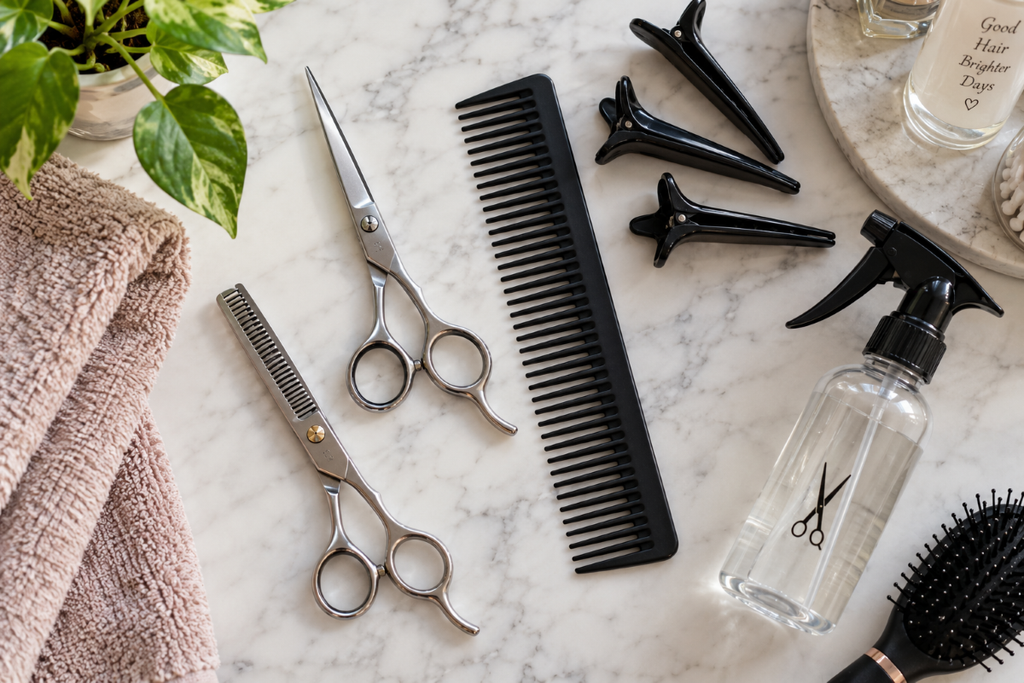
Essential Tools Every Beginner Needs Before Cutting Hair
You genuinely cannot learn how to start cutting hair for beginners with kitchen scissors. I know it’s tempting to just use what’s around, but dull, non-hair-specific blades crush the hair shaft instead of slicing it cleanly, which leads to split ends almost immediately.
The Non-Negotiables
- Hair-cutting shears (5.5–6 inches is a good beginner size)
- A wide-tooth comb and a fine-tooth comb
- Sectioning clips (butterfly clips work great)
- A spray bottle for keeping hair damp
- A cape or old towel to protect clothing and catch hair
Nice-to-Haves Once You’re Comfortable
- Thinning shears (for texturizing, not for beginners on day one)
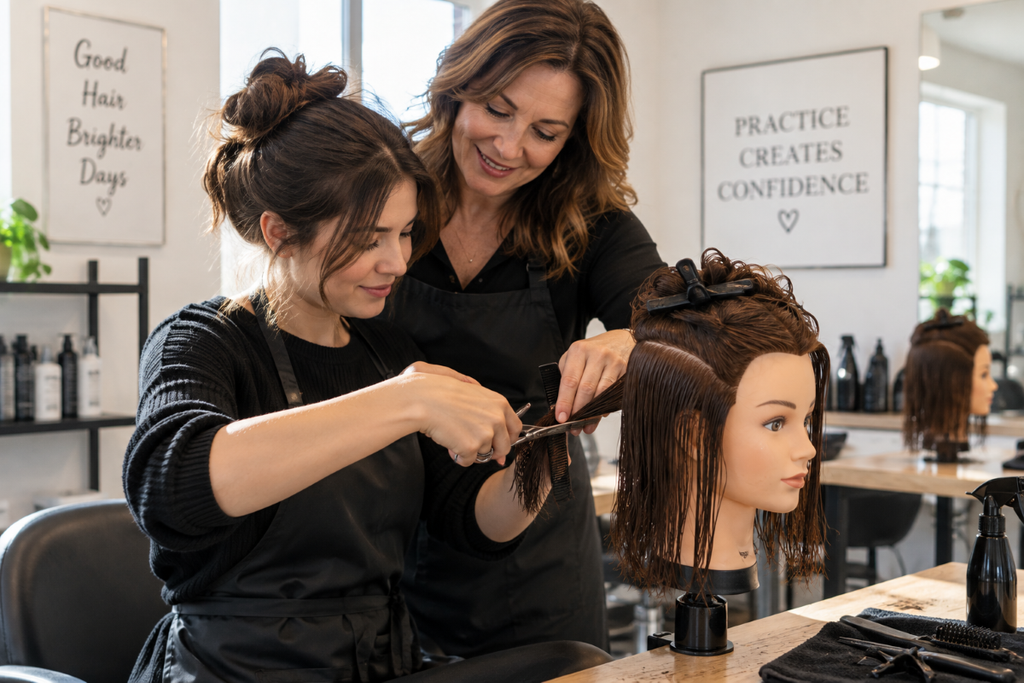
- A mannequin head for practice
- A handheld mirror to check the back
How to Start Cutting Hair for Beginners: The Step-by-Step Basics
This is the part you actually came here for. Let’s walk through the process the way an instructor would show you on day one.
Step 1: Start With Clean, Damp Hair
Dry hair moves around too much and doesn’t give you an accurate line. Damp hair (not soaking wet) is easier to control and shows you a truer shape as it dries.
Step 2: Section the Hair
Divide the hair into four quadrants — top-left, top-right, back-left, back-right — and clip each section out of the way. This keeps you from grabbing random chunks and losing track of what you’ve already cut.
Step 3: Take Small, Even Subsections
Grab a section about one to two inches wide. Any wider and you lose control; any thinner and you’ll be there all day.
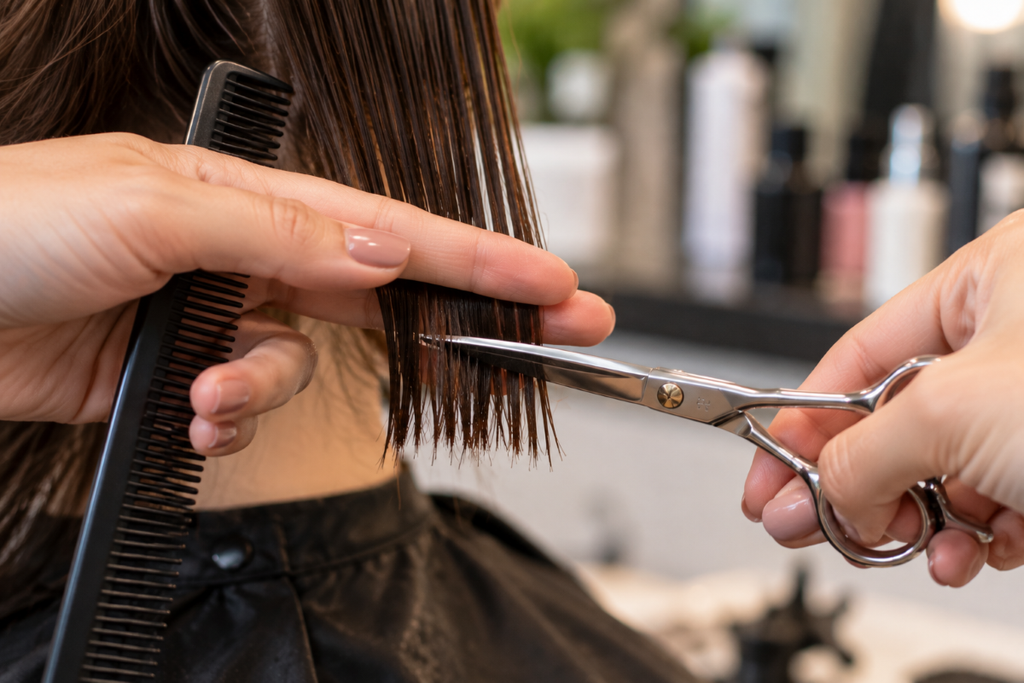
Step 4: Comb the Section Straight and Hold Tension
Comb the hair flat between two fingers (your index and middle finger work as a natural guide) and hold it with light, even tension — not stretched to its limit, just taut enough to see a clean line.
Step 5: Cut Straight Across (Blunt Cut) First
For your very first attempts, stick to a blunt, horizontal cut. No angles, no layers. This is the technique everything else is built on.
Step 6: Use the First Section as Your Guide
Once you’ve cut one section, use it as a reference point for the next one so the length stays consistent all the way around.
Step 7: Check It Dry
Always let the hair dry before deciding it’s “done.” Damp hair often looks even but reveals unevenness once it dries and the natural fall kicks in.
Beginner Cutting Methods Compared
Not every technique is beginner-friendly. Here’s how the most common ones stack up so you know what to try first and what to save for later.
| Technique | Difficulty Level | Best For | Beginner-Friendly? |
|---|---|---|---|
| Blunt Cut | Easy | Even length, blunt bobs, trims | Yes — start here |
| Point Cutting | Moderate | Softening blunt ends, texture | After a few weeks of practice |
| Layering | Advanced | Movement, volume, face-framing | Not recommended for day one |
| Texturizing (thinning shears) | Advanced | Removing bulk, softening | Only once tension control is solid |
| Razor Cutting | Advanced | Choppy, textured looks | Avoid until you’re confident with scissors |
Common Mistakes Beginners Make When Cutting Hair
Nearly everyone makes these mistakes early on, so don’t beat yourself up if you spot a few here.
- Cutting dry hair straight away — you lose accuracy without realizing it
- Uneven tension — pulling one section tighter than the last throws off the whole line
- Cutting too much at once — you can always take off more, but you can’t glue hair back on
- Skipping the “check it dry” step — the single biggest reason beginner cuts look uneven
- Using the wrong angle for their face shape — a straight blunt cut doesn’t suit every jawline
- Rushing the sectioning step — it feels slow, but it saves you from a lopsided result
Pro Tips From Experienced Stylists
A few small habits separate a shaky first attempt from a genuinely decent one.
- Always cut a little less than you think you need — you can trim more later, that’s just how it works
- Keep your shears at a slight angle rather than flat across for a softer, more natural-looking line
- Practice on a mannequin head for at least a few sessions before touching real hair on a real person
- Good lighting isn’t optional — a dim bathroom will hide unevenness until it’s too late
- Invest in one solid pair of shears rather than a cheap set that dulls within weeks
Frequently Asked Questions
How long does it take to learn how to start cutting hair as a beginner?
Most people get comfortable with basic blunt cuts within a few weeks of regular practice, maybe 20-30 minutes a couple of times a week. Getting truly confident with layers and shaping usually takes a few months, and honestly, even professionals keep refining their skills for years.
Can I learn to cut hair on myself first?
It’s possible for the front pieces you can see clearly in a mirror, but cutting the back of your own head is genuinely one of the hardest things to do well. Most beginners start on a mannequin head or a willing friend before attempting their own hair.
What’s the best hair length to practice on as a beginner?
Medium to long hair gives you more room for error since there’s extra length to correct mistakes. Very short hair shows every uneven line immediately, so it’s better saved for once you’ve built some confidence.
Do I need expensive shears to start learning?
Not at first. A mid-range pair of proper hair-cutting shears (not kitchen scissors) is enough to learn the fundamentals. You can invest in higher-end shears once you know you’ll stick with it.
Is it okay to cut curly or textured hair as a total beginner?
It’s possible, but curly and coily hair behaves differently than straight hair — it shrinks up when it dries, sometimes significantly. If you’re just starting out, it’s usually easier to build your fundamentals on straighter hair first, then move to curl-specific cutting once you understand shrinkage and curl pattern.
Ready to Pick Up Those Shears?
Learning how to start cutting hair for beginners isn’t about getting it perfect on your first try — nobody does. It’s about slowing down, respecting the process, and giving yourself room to mess up on a mannequin head before you ever touch real hair that matters. Grab your tools, section that hair, and just start. You’ll get better a lot faster than you think.