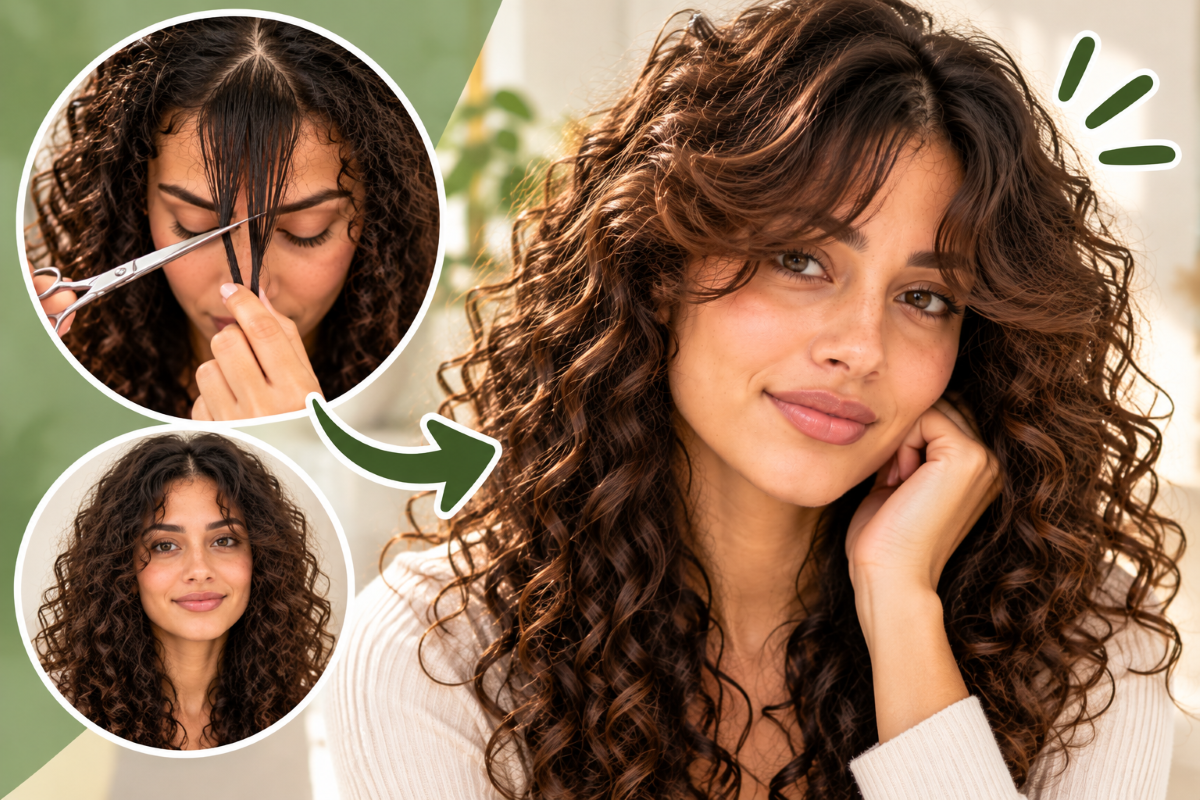
Wondering how to cut curtain bangs at home without a mirror-side meltdown? Here’s the short version: work on dry hair, take a small triangle section, start longer than you think you need, and snip tiny vertical bits. Keep the center shortest and let the sides get gradually longer.
Curtain bangs are forgiving because they blend into your face-framing hair, which is why I recommend them to first-time bang cutters. The catch is that hair looks shorter once it dries, especially if it’s wavy or curly. So slow down, cut small, and check often.
What Are Curtain Bangs (and Why They’re Great for First-Timers)
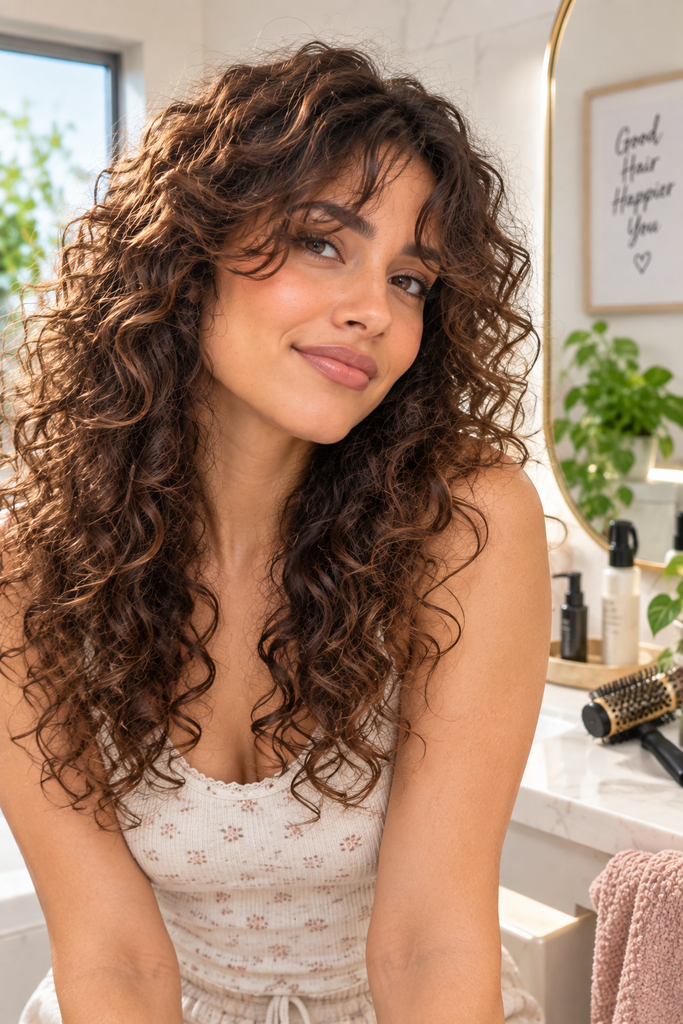
Curtain bangs part near the center and sweep outward toward your temples and cheekbones. Unlike blunt, straight-across bangs, they don’t sit like a heavy shelf on your forehead. They frame your face instead.
Here’s what defines them:
- A shorter center section with longer pieces toward the sides
- Soft, blended edges rather than a hard line
- A center or slightly off-center part
- Gradual face-framing layers that melt into the rest of your cut
The exact length depends on your face shape, hair texture, density, and how much time you want to spend styling. For a low-maintenance result, longer curtain bangs are much easier to live with than very short ones. Honestly, I’d go longer every time.
What You Need Before You Start Cutting
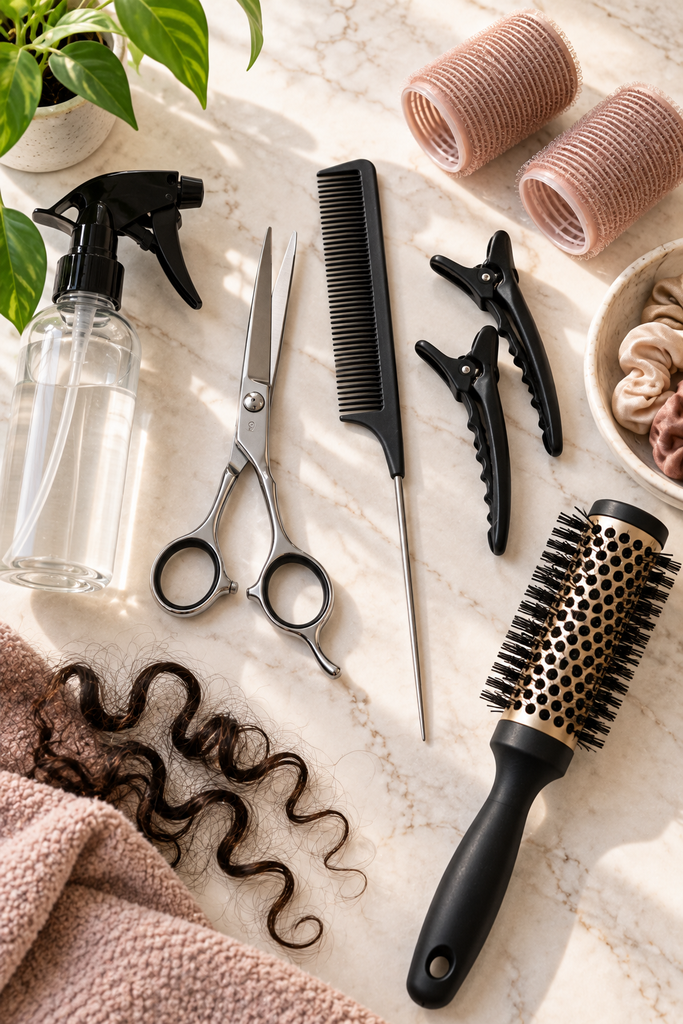
You don’t need a salon’s worth of gear. A handful of basics does the job.
Essentials:
- Sharp hair-cutting scissors
- A fine-tooth or tail comb
- Hair clips and sectioning clips
- A large mirror, plus a hand mirror if you have one
- A spray bottle
- A clean towel or cape
For styling afterward:
- A round brush and blow dryer
- Velcro rollers
- Heat protectant
- A lightweight styling cream
Skip the kitchen scissors. They tend to crush or bend hair instead of slicing it cleanly, and you’ll feel that in the finished edge. If your hair is naturally wavy or curly, you may not need any heat tools at all.
Should You Cut Curtain Bangs Wet or Dry?
For most people, dry cutting is easier to control, especially if your hair has any wave or curl. Hair changes length and shape as it dries. Curly hair can shrink a lot, so a curl that looks several inches too long when wet can end up surprisingly short.
Straight Hair
Straight hair can be lightly dampened if you prefer, since there’s very little shrinkage. Still, check the final shape once it’s completely dry.
Wavy Hair
Cut it dry so you can see where each wave naturally falls. Waves are unpredictable, and this is how you keep them from surprising you later.
Curly Hair
Dry cutting lets you see your real curl pattern, so you don’t accidentally chop a curl too short. For tighter curls, cut curl by curl or in very small sections.
How to Cut Curtain Bangs at Home, Step by Step
Give yourself about twenty minutes and good lighting. Rushing is how most bang disasters happen.
Step 1: Start With Clean, Dry Hair
Begin with clean, dry hair styled close to how you normally wear it. If your hair is naturally wavy or curly, don’t straighten it first. Your natural texture decides where the bangs will actually sit.
Step 2: Find Your Natural Part
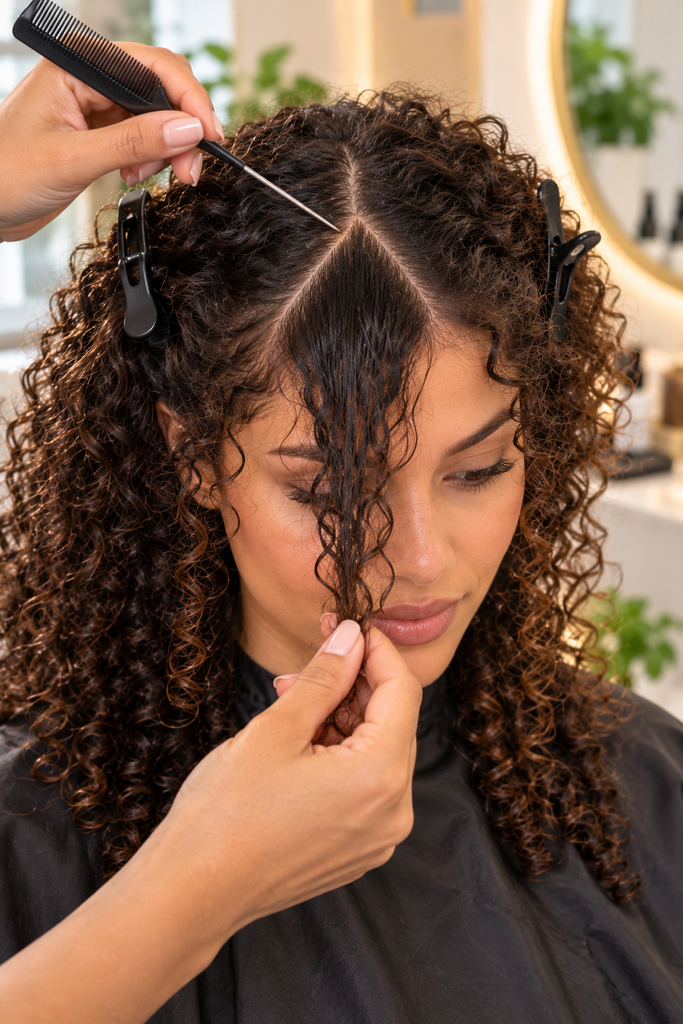
Look at where your hair wants to separate. Most curtain bangs start near the center, though a slightly off-center part works too. Use your comb to draw a clean part from the front hairline toward the crown.
Don’t force a part your hair fights. Bangs cut against your natural growth pattern keep separating or flopping awkwardly.
Step 3: Create the Bang Section
Isolate a small triangle of hair at the front of your head. The point of the triangle extends slightly back from the hairline, and the wider base sits near your forehead.
Be careful with the width. Too much hair makes bangs thick and heavy, so for a first attempt, go smaller. You can always add more later. Clip the rest of your hair away from your face.
Step 4: Divide the Bangs Into Two Sides
Split the section down the middle so you have a left and a right piece. Comb both forward naturally and keep them separated so you can work one side at a time.
Step 5: Decide Where the Shortest Point Should Be
This is the most important decision, so take a second. Curtain bangs don’t need to start short. For a first cut, choose a starting point longer than your final goal, around the bridge of your nose or slightly below.
If your hair is curly, start even longer, because curls spring upward once released. My rule is simple: cut less than you think you need, check it, style it, and then make one more small adjustment.
Step 6: Cut the Center With Small Snips
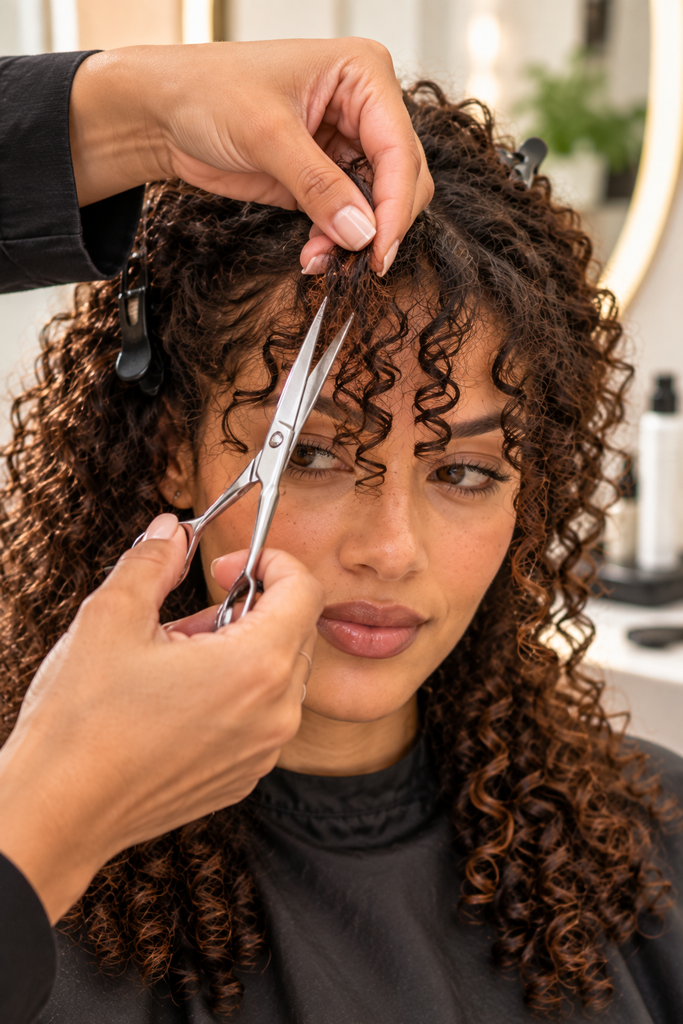
Take the center section between your fingers. Instead of one big horizontal chop, hold the scissors vertically and make small point-cutting snips into the ends. This removes tiny amounts of length and gives you a soft edge instead of a blunt one.
Don’t yank the hair downward, especially if it’s wavy or curly. You’re aiming for a soft center, not a ruler-straight line.
Step 7: Create the Longer Outer Pieces
Now work toward the sides. Think of the shape as shorter center, medium length, longer sides, and keep the transition gradual. Take a small section next to the center and trim it slightly longer than the last one. Keep moving outward.
That slow lengthening is what gives curtain bangs their signature shape.
Step 8: Blend Into the Face-Framing Hair
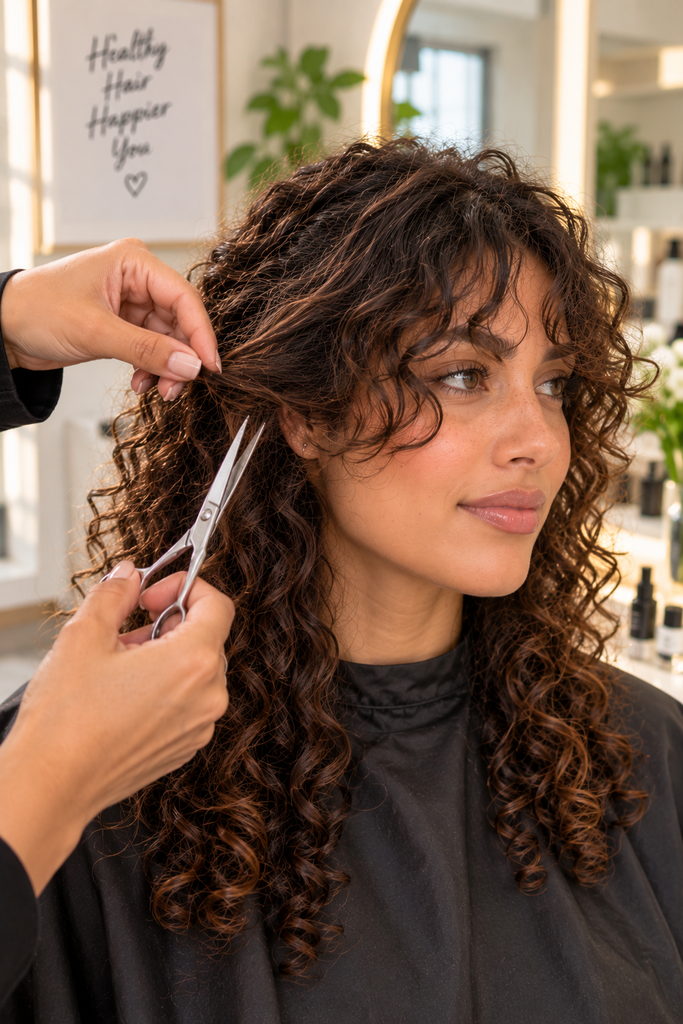
The longest part of your bangs should melt into the layers around your face. Take a small piece of the outer bang and compare it with the hair right behind it. Make tiny point cuts to smooth out any obvious step.
You want it to look like one haircut, not two.
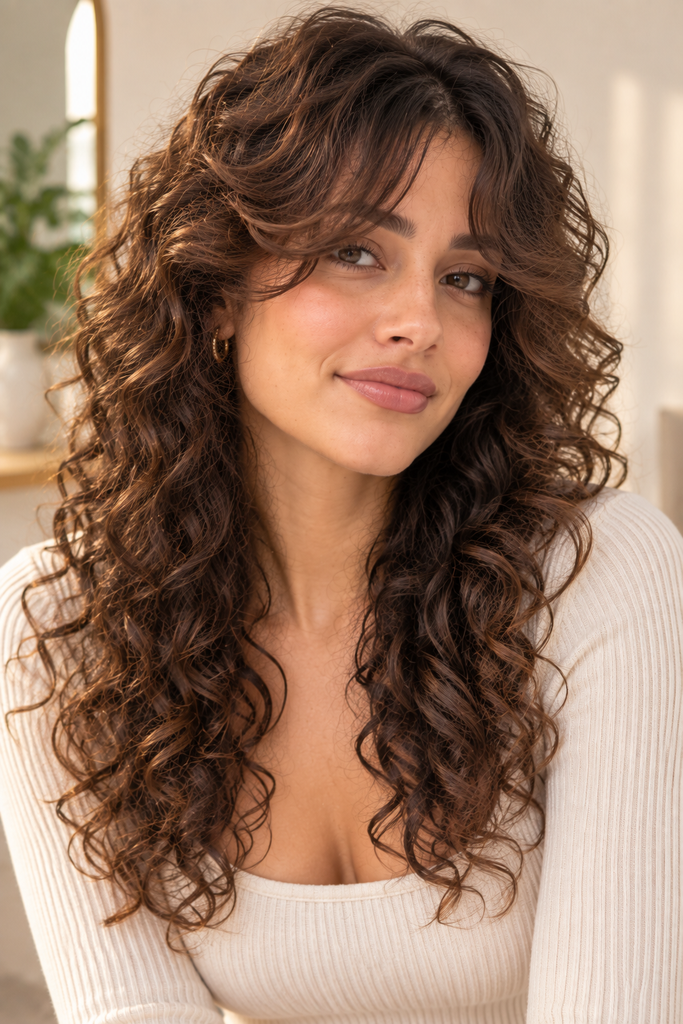
Step 9: Check Both Sides
Step back from the mirror and look at your bangs from the front and both sides. Ask yourself:
- Is the center reasonably balanced?
- Are both sides similar in length?
- Does one side fall differently?
- Do the outer pieces blend into the rest of your cut?
- Are the bangs still long enough to style?
Perfectly identical sides aren’t always the goal. Hair can have different density and movement on each side, and that’s normal.
Step 10: Style Your Curtain Bangs
Styling shows off the final shape.
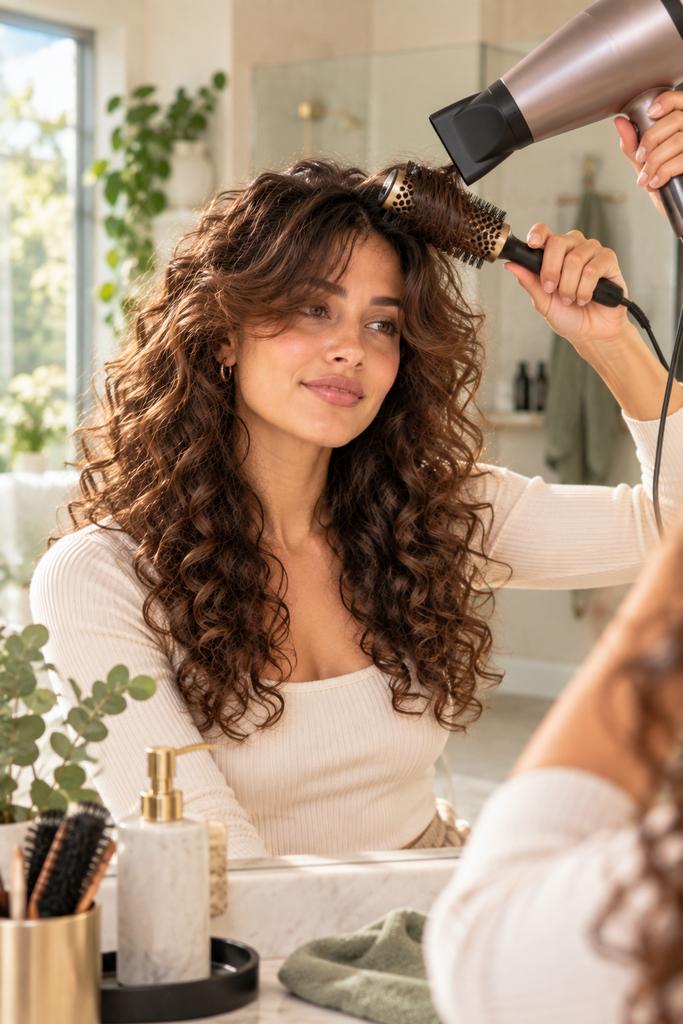
- Round brush: Place the brush under one side and direct the hair away from your face while drying. Repeat on the other side. Go for a soft outward curve, not a dramatic curl.
- Velcro rollers: Roll each side away from your face and let it cool before removing the rollers. This adds volume and the classic curtain effect.
- Wavy hair: Use your normal routine and let the waves form naturally.
- Curly hair: Apply a small amount of curl cream or gel and gently scrunch. Let individual curls form instead of forcing them straight.
Curtain Bangs by Hair Type
Your texture changes both how you cut and how you style. Here’s a quick comparison.
| Hair Type | Best Starting Length | Cutting Tip | Styling Shortcut |
|---|---|---|---|
| Straight | Bridge of the nose | Take a smaller section on fine hair to avoid a flat look | Round brush, flipped outward |
| Wavy | Just below the bridge of the nose | Cut dry and follow each wave’s natural fall | Air dry or lightly scrunch |
| Curly | Around the tip of the nose or lower | Cut curl by curl and never stretch the hair straight | Curl cream, scrunch, diffuse or air dry |
Curtain Bangs for Straight Hair
Straight hair shows the shape clearly, and with almost no shrinkage you can be more precise with length. A round brush gives you that classic soft, flipped look. On very fine hair, avoid a big section, because it can make the fringe look flat.
Curtain Bangs for Wavy Hair
Wavy hair gives curtain bangs lovely natural movement. The challenge is uneven shrinkage, so cut dry and follow the wave pattern. Try not to brush the finished bangs over and over, because it disrupts the waves.
Curtain Bangs for Curly Hair
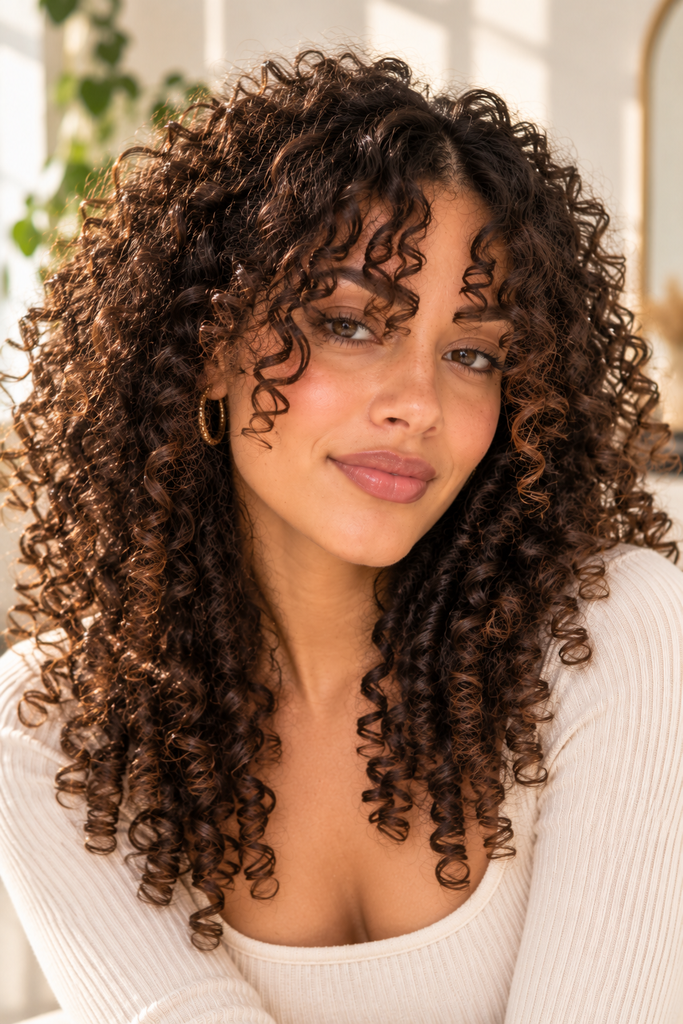
Curly curtain bangs look soft and voluminous when they’re cut with your natural curl pattern in mind. Instead of cutting a straight line across several curls, separate individual curls or tiny groups and remove only a little at a time.
Never assume a curl will stay the same length after it springs back. A curl that looks several inches long when stretched can end up much shorter once you let go. For more on this, check out my guide on how to cut bangs for curly hair.
Common Curtain Bang Mistakes (and How to Fix Them)
I see the same slip-ups again and again. Here’s what to watch for:
- Cutting too much hair at once. A large bang section turns thick and heavy. Start small.
- Cutting everything one length. Curtain bangs depend on a gradual change from a shorter center to longer sides.
- Pulling curly hair straight. Stretching curls causes surprise shrinkage.
- Cutting too quickly. Small adjustments give you way more control than one large cut.
- Ignoring your natural part. Bangs cut against your growth pattern won’t behave.
- Forgetting the final styling shape. Bangs look different before and after blow-drying or diffusing, so always judge them the way you’ll wear them.
How to Cut Curtain Bangs Without Making Them Too Short
The biggest beginner mistake is chasing the final length in one go. Instead:
- Start with longer hair.
- Make a tiny cut.
- Release the hair and let it return to its natural position.
- Check the shape and style it.
- Remove a little more only if you need to.
How to Fix Curtain Bangs That Are Too Short
If you cut them shorter than planned, resist the urge to keep trimming to even things out. Stop cutting, let the hair settle, and style the bangs away from your face. Blend the sides into longer face-framing pieces, and use clips or small rollers while they grow. With curly hair, remember that shrinkage makes short bangs look even shorter, so give them time.
Trimming, Upkeep, and When to See a Stylist
How Often Do Curtain Bangs Need Trimming?
It depends on how short you keep them. Shorter curtain bangs need regular maintenance, since even a little growth changes the shape. Longer ones are more forgiving and can blend into your layers as they grow. If you trim at home, make very small adjustments rather than redoing the whole cut each time.
Can You Use Regular Scissors?
Please don’t. Hair-cutting scissors are sharp and made for controlled cuts, while craft or kitchen scissors leave a rougher edge and make precision difficult. If you don’t have the right pair yet, waiting is safer than improvising.
When a Professional Is the Smarter Choice
I love a good DIY, but a stylist is the better call if:
- Your hair is very curly or highly textured
- You want very short curtain bangs
- You already have layered hair
- Your density varies a lot from one side to the other
- You want the bangs built into a complete haircut
- You’re simply nervous about cutting your own hair
A stylist can also customize the length and transition to your texture and the way you normally wear your hair.
Frequently Asked Questions
Are curtain bangs hard to cut yourself?
They’re pretty manageable when you keep them long and soft. Precision matters more as they get shorter, so start conservatively and make several small adjustments.
Can you cut curtain bangs on curly hair?
Yes, and curly hair often makes gorgeous, voluminous curtain bangs. Just plan for shrinkage by cutting dry, working curl by curl, and starting longer than your goal.
How long should curtain bangs be?
For a first cut, start around the bridge of your nose or slightly lower. Curly and wavy hair should start even longer, since the length can spring up after you release it.
Should the center of curtain bangs be shortest?
Usually, yes. The center is the shortest area, and the hair gradually lengthens toward both sides. You can customize the exact center length to your face and texture.
What should I do if my curtain bangs are uneven?
Let your hair return to its natural texture and style it normally first. If one side is genuinely longer, make one very small correction instead of repeatedly trimming both sides.
Start Long, Then Trust the Process
Learning how to cut curtain bangs at home is less about one perfect snip and more about building the shape gradually. Start longer, respect your natural texture, use small point cuts, and step away from the mirror often.
When in doubt, leave them longer. A longer curtain bang can always be shortened later, while a too-short one just needs time. Save this guide for your next trim, and let me know in the comments how your first attempt turned out.